
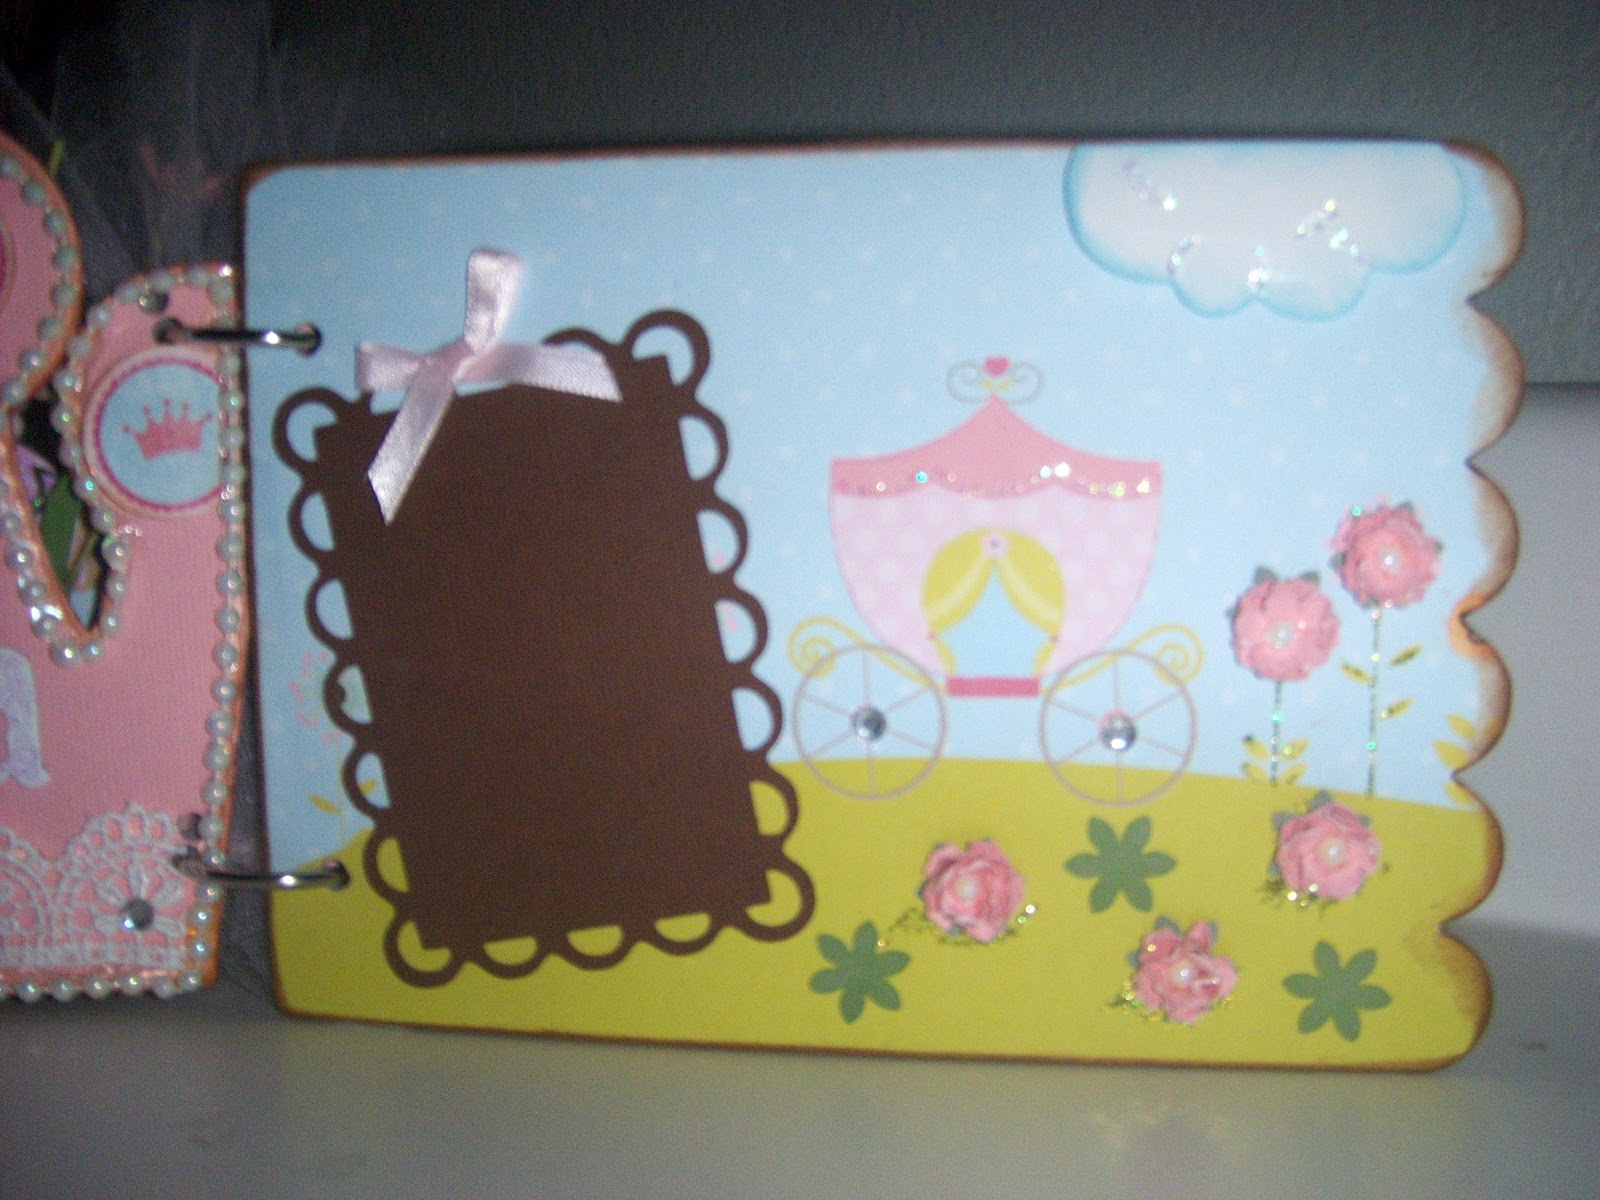
Finally... I got it!!!! You have no idea how many stores we went... yesterday my hubby and I went to Best Buy, the only place in town that had it, can you believe that?? Now I promised to make a tutorial on how to make the mini roses I used in my princess mini album.

You will need the tip of the brush, your favorite adhesive, cardstock any color you like I'm using black and white, green for the leaves and ek success daisy & petunia punches

I punch three flowers in black and three in white, (I cut three in green because I will be making three flowers) but you just need one daisy in green per flower

Now... with the tip of the brush you will push the center of the flower and press around the tip

You can see what I mean with pressing around the tip.
You are going to glue #3 into #2 and then into #1, (I hope this makes sense) to add the green leaves simply put a dab of glue onto the bottom of the flower

and you have a beautiful rose

It looks like a lot of work, but you can give it a try. Once you've made one or two, you can make them in a minute or less.
Have a wonderful weekend!!
cecy
4 comments:
Cecy, great tutorial!
Gran tutorial me encanto, ahora te voy a enviar las minis rosas que haga, gracias por compartir!!!!
Esto esta precioso! Me encanta este punch, no lo habia visto antes.
Excellent tutorial Cecy!
Post a Comment