Friday, March 16, 2012

SINGLE LAYOUT

Hello everyone!!

Happy Friday!! Today I have a Momenta collection single layout to share. My friend Isela gave me this paper collection, it's the first time I used Momenta paper it is so pretty. It has lots of stickers and emboss paper, love it!!


Hope you like it.
Have a wonderful weekend!!
cecy

Wednesday, March 14, 2012

LITTLE DARLING

Hello everyone!!

I'm so happy with my project today!! I made this Little Darlings shadow box for my sister, she has the most beautiful baby with light brown curls and pink cheeks. I know she is going to love it!! I used Graphic 45 Little Darlings Collection.


I love all the small detail I put into this project.
Have a  wonderful day!!!
cecy

Monday, March 12, 2012

FANCY JOURNAL

Hello everyone!!

Hope you all had a wonderful weekend!! I spend saturday cropping at one of our local scrapbooking stores, it was so nice spending time with all those ladies!!
I bought this journal at Michaels several weeks ago and last night I decided to do something with it.


I'm so in love with my fancy journal!!
I used the new line miss caroline from my mind's eye, prima, michaels and cecy's flowers,celebrate it pink ribbon, victorian parlour glitter stickers from colorbok.
Have a happy Monday!!
cecy

Friday, March 9, 2012

EASTER HOUSE

Good morning everyone, Happy Friday!!

I love to make minis!! This easter house is so cute with lots of bling and flowers. It talk spring!!!
I hope you like it as much as I do. I use we r memory keepers 6x6 paper pad, prima flowers and cecy's flowers too, for the tiny butterfly and the frog I used creative memories punch, recollection spring dimensional stickers, recollection bling.


I crack my egg , lol


Have a wonderful weekend!!
cecy


Wednesday, March 7, 2012

DIVAS HOME DECOR

Good morning everyone!!

Today I want to share a home decor I made with vinyl. I'm renewing the decoration in my daughters bathroom. I found this saying in a 6x6 stack of paper my friend Erlinda has ( I think is Lil Primrose paper collection) I used my gypsy for this one, forever young and Martha Stewart seasonal cake art cartridges, I added some bling. I think is so perfect for a teenager to have some bling lol.


I love this dress form, don't you?? and you can see some of the shower curtain.
Have a wonderful Wednesday!!! 
cecy

Monday, March 5, 2012

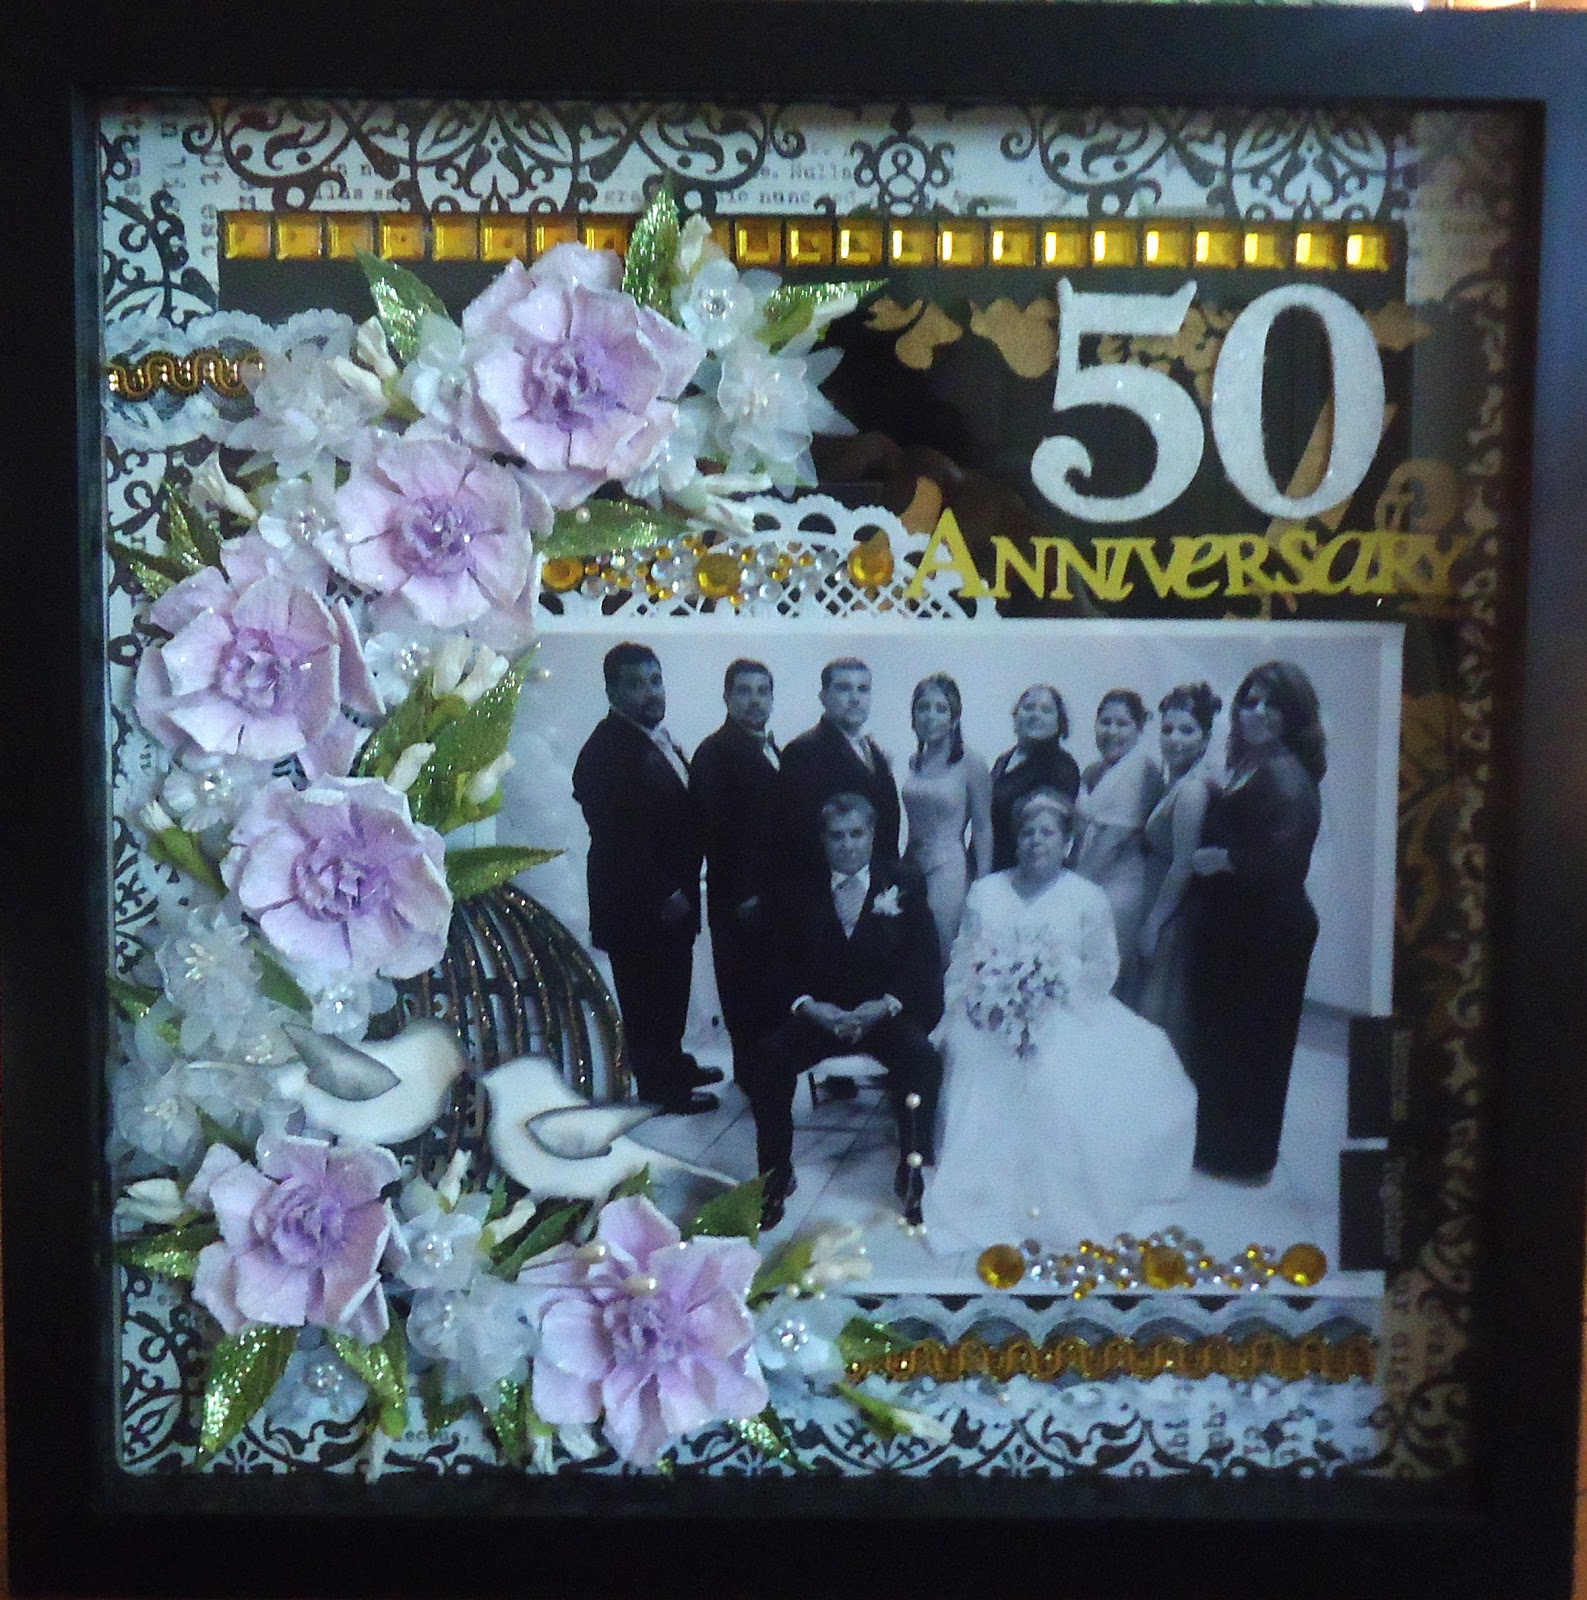
50 ANNIVERSARY

Good morning everyone!!

Today I will share a shadow box with some of the story about the picture.

This picture is so special to me, it was the last picture we took with my beautiful mother... my mother was very sick, but she was so full of energy and began to say to all her children that she wanted to celebrate their 50 wedding anniversary, everything was planned in a month. She wanted to wear a wedding dress, this was so important to her, I took her to get her dress and she was so happy.
Everyone who joined us were so excited and happy for her, they knew she wasn't going to be able to wait to her real wedding anniversary date....5 months later she went to be In God's Hands...


I love you so much!!!!!

I feel so proud that I did my own flowers!!
Purple... her favorite color... the picture does not do justice.
cecy

Friday, March 2, 2012

MINI ROSES TUTORIAL

Good morning everyone!!

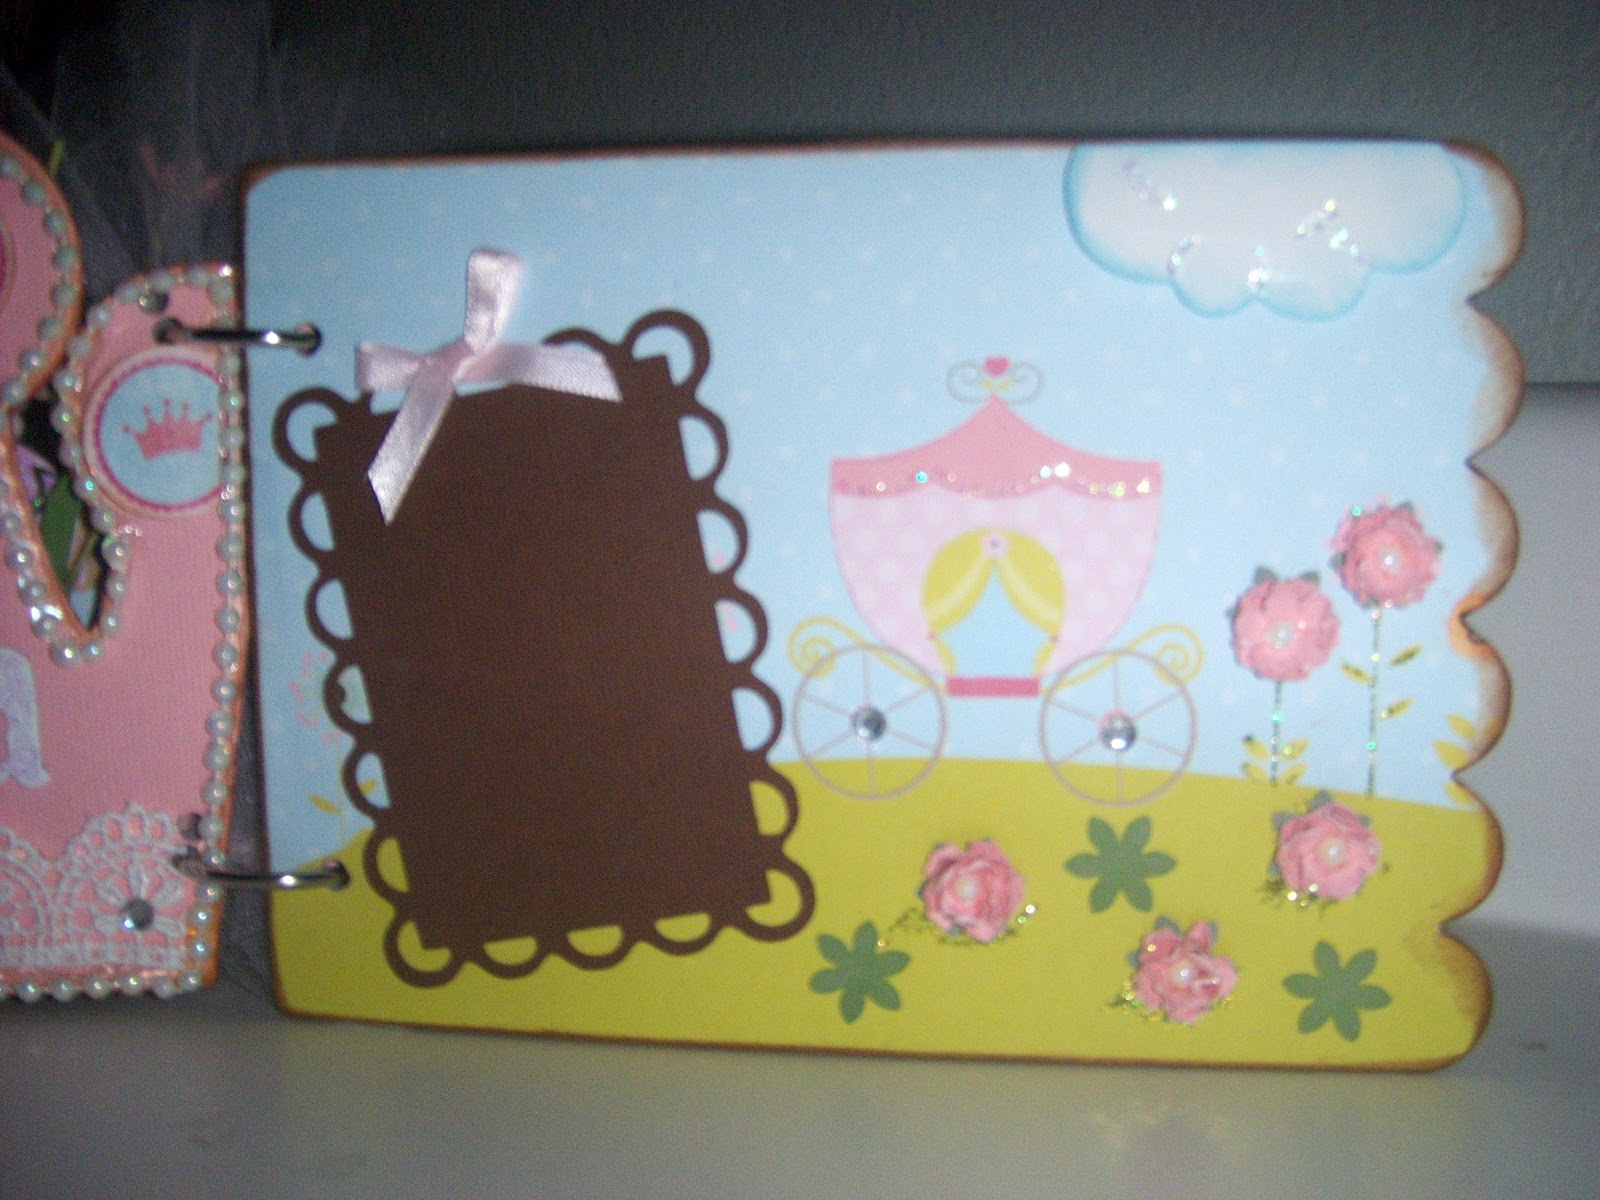
Finally... I got it!!!! You have no idea how many stores we went... yesterday my hubby and I went to Best Buy, the only place in town that had it, can you believe that?? Now I promised to make a tutorial on how to make the mini roses I used in my princess mini album.


You will need the tip of the brush, your favorite adhesive, cardstock any color you like I'm using black and white, green for the leaves and ek success daisy & petunia punches

I punch three flowers in black and three in white, (I cut three in green because I will be making three flowers) but you just need one daisy in green per flower

Now... with the tip of the brush you will push the center of the flower and press around the tip 

You can see what I mean with pressing around the tip. 
You are going to glue #3 into #2 and then into #1, (I hope this makes sense) to add the green leaves simply put a dab of glue onto the bottom of the flower 

and you have a beautiful rose

It looks like a lot of work, but you can give it a try. Once you've made one or two, you can make them in a minute or less.
Have a wonderful weekend!!
cecy